How to make a firepit: a cosy January ritual
As the crisp January air blankets the UK, there’s nothing quite like gathering around a crackling firepit to fend off the chill. It’s a time-honoured way to connect with nature, share stories, and enjoy the warmth of good company… and great beer.
Whether you’re planning a solo reflection night or a lively evening with friends, building a firepit is simpler than you might think. Pair it with the rich flavours of Badger ales or Outland’s bold craft beers, and you’ve got the makings of a perfect winter night.
Step 1: Choose your spot
Start by selecting a safe, open area in your backyard or garden. Ideally, pick a location that’s at least 10 feet away from any structures, trees, or overhanging branches. Clear the ground of debris or leaves to create a level, fire-safe base. As you plan, imagine sitting there with a chilled beer in hand. The thought alone will inspire you to make the space extra inviting.
Step 2: Gather your materials
For a simple DIY firepit, you’ll need:
- Bricks or stones: These will form the walls of your firepit. Choose fire-resistant materials that can handle high temperatures.
- Shovel: To dig out your pit.
- Gravel: This provides a stable, heat-resistant base.
- Metal fire ring (optional): This ensures the fire stays contained and adds a polished touch.
Pro tip: Stock up on wood before starting. Seasoned hardwood, such as oak or hickory, burns cleanly and offers a consistent flame, perfect for toasting marshmallows or just admiring over a bottle of Badger’s Golden Champion or Outland’s West Coast IPA.
Step 3: Build your firepit
- Dig the base: Mark out a circular area (about 3 feet in diameter) and dig a shallow hole 6-8 inches deep.
- Lay the foundation: Spread a layer of gravel at the bottom of the hole for drainage and stability.
- Arrange the walls: Stack your bricks or stones around the perimeter of the circle. Make sure they’re stable and tightly packed. For added safety and durability, use fire-resistant mortar between the layers.
- Insert the metal ring (if using): Place it inside the brick or stone circle for a clean, professional look.
As the firepit takes shape, reward yourself with a sip of your favourite beer, whether that’s a golden ale, a stout, or an IPA. You’re building more than a pit, you’re crafting the heart of winter gatherings.
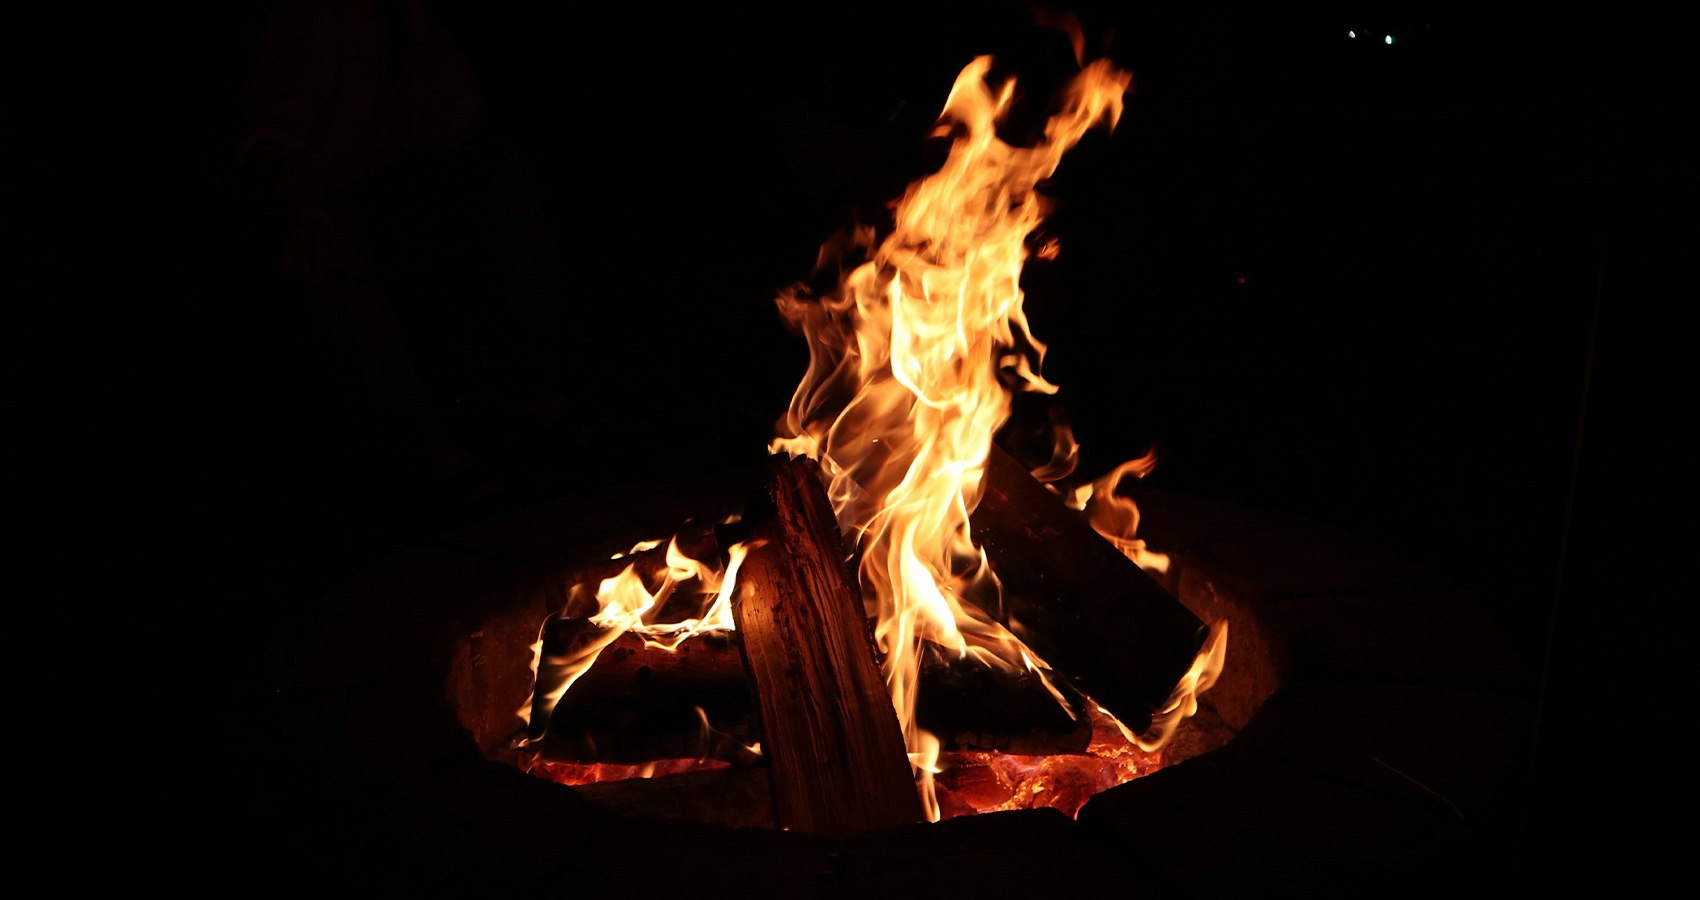
Step 4: Light it up
Once your firepit is complete, gather some kindling and larger logs. Arrange them in a pyramid or teepee shape for optimal airflow. Light it up and watch as the flames leap to life. The soft glow will make your backyard feel like a cosy retreat, perfect for sharing tales and laughter.
Don’t forget to pack a cooler with your favourite Badger and Outland beers—their balanced flavours are a match made for firelit evenings.
Elevate the experience
Enhance your firepit moments with thoughtful touches. Bring out blankets and cushions for warmth, set up a playlist of mellow tunes, and consider pairing your brews with snacks.
Badger’s ales, with their malty richness, go wonderfully with roasted chestnuts or sharp cheddar. Outland’s hoppy beers, on the other hand, are a natural match for smoky sausages or s’mores.
Embrace the magic of January
As the stars peek through the wintry sky, there’s no better way to embrace January’s quiet beauty than around your handcrafted firepit. With Badger and Outland beers in hand, you’ll find yourself savouring not just the warmth of the fire, but the richness of the moment itself.
Cheers to a season of comfort, connection, and craft—in every sense of the word.